
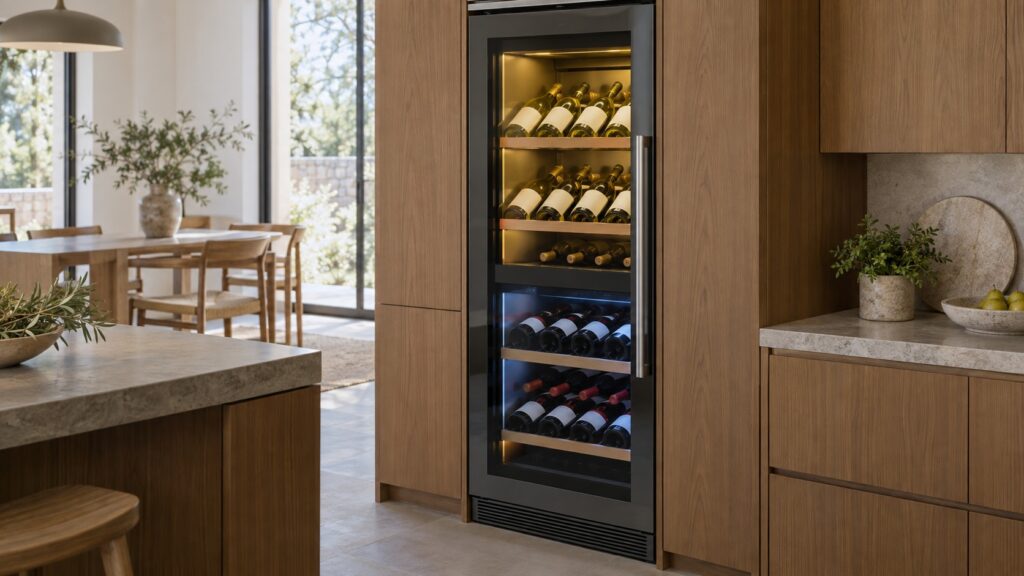
A Liebherr wine refrigeration column installation is closer to a full-size refrigerator column install than to fitting a small undercounter unit — the full-height Vinidor and Vinothek columns that run from floor to counter height, not the smaller undercounter wine fridge — is closer to installing a Monolith refrigerator column than to fitting a small undercounter unit. These columns are rear-vented, need a dedicated cabinetry opening built to the manufacturer’s clearances, and typically hold two independent temperature zones so serving and long-term aging bottles never share the same compartment. Getting the cabinetry opening wrong is the single most common reason a newly installed unit runs warm or struggles to hold its dual zones apart.
How is this different from installing an undercounter wine fridge?
An undercounter wine fridge, like a Vinothek serving unit, is front-vented and designed to slide into a standard 24-inch cabinet opening with clearance only at the front grille — that is the installation our undercounter wine fridge installation guide covers. A built-in wine refrigeration column is a different animal: it is taller, rear-vented like a full-size refrigerator, and needs airflow space behind and above the cabinet, not just in front. Treating a column installation like an undercounter installation — sealing it into a tight cabinet with no rear clearance — is the most common mistake, and it usually shows up weeks later as one zone running warm rather than as an immediate obvious problem.
What clearances does the cabinetry opening need?
The exact clearance numbers vary by model and are printed in the installation manual that ships with the unit, but the pattern across Liebherr’s built-in wine refrigeration columns is consistent: space behind the cabinet for the compressor’s heat exchanger to breathe, a vented path for that heat to escape upward or through a rear grille, and a cabinetry opening cut to the column’s exact width and height rather than “close enough.” Because these are full-height columns, even a small height mismatch at the top can leave the vent path pinched against a cabinet soffit, which reduces airflow gradually rather than all at once — the compressor works harder for months before a zone visibly runs warm.
If you are installing alongside a Monolith refrigerator or freezer column in the same run, use the same clearance planning you would for those columns; the venting requirements are close enough that a cabinetmaker familiar with Monolith installations can generally apply the same approach to a wine refrigeration column.
Why does leveling matter more on a dual-zone column?
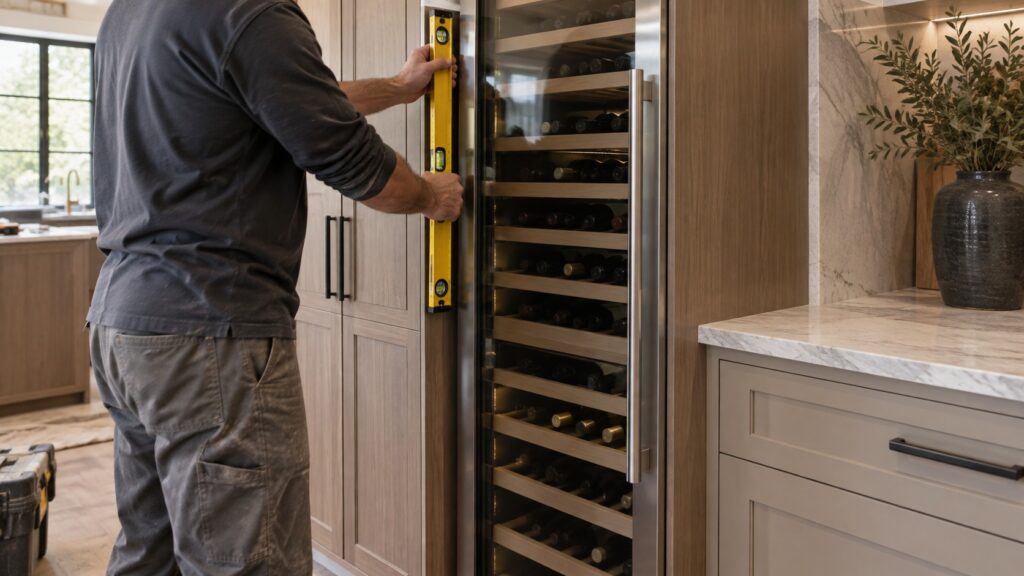
A dual-zone wine refrigeration column relies on internal baffling and separate evaporator paths to keep its two zones at different temperatures without one leaking heat or cold into the other. If the column is not level, refrigerant and condensation inside the system do not distribute the way the design assumes, and the zone boundary becomes less precise — bottles near the shared internal wall between zones drift toward whichever zone’s temperature has more influence. Leveling front-to-back and side-to-side, checked with a level rather than by eye, is a five-minute step that prevents a slow, hard-to-diagnose zone-separation complaint later.
What about the electrical and water requirements?
Unlike an ice maker or a plumbed refrigerator, a wine refrigeration column has no water line to run — it only needs power. That power should come from a dedicated, grounded circuit sized to the model’s nameplate rating, positioned so the cord reaches without stretching or being pinched behind the cabinet during the final push-in. Running the column on a shared circuit with other kitchen appliances is not a fire risk on its own, but it can cause nuisance trips if a compressor start draws current at the same moment as another large appliance. If the installation location is on an older circuit already shared with several kitchen appliances, having an electrician confirm the circuit’s actual capacity before the column arrives avoids discovering a nuisance trip the first time the compressor cycles under a full load.
Should you install the column before or after surrounding cabinetry is finished?
Most installers set the column’s rough opening dimensions before cabinetry is built, then slide the unit into place only after flooring, counters, and neighboring cabinet panels are finished — moving a full-height column through a half-built kitchen risks scuffing both the appliance and the surrounding woodwork. If the column is going in as part of a run with a Monolith refrigerator or freezer, plan the whole run’s clearances together rather than cabinet by cabinet, since a shared soffit or shared rear vent path needs to work for every column in the run, not just one.
Door swing is also worth confirming before the opening is finalized. A wine refrigeration column’s door needs room to open past ninety degrees for shelves and larger bottle formats to come in and out, and a nearby island or adjacent appliance door can block that swing in a tight galley kitchen even when the column itself fits the opening fine.
What should be checked before first use?
- Confirm the cabinetry opening matches the model’s exact dimensions before the column arrives — corrections after delivery are far more disruptive than before.
- Leave the specified rear and top clearance even if the opening looks tight enough without it.
- Level the unit in both directions once it is in place, not just visually but with a level.
- Let the column run empty for several hours before loading bottles, so both zones reach their target temperature before they have wine to hold steady.
Once the column is installed and running, our Vinidor zone setup guide covers dialing in serving and aging temperatures for each zone, and our guide on ideal wine storage temperature explains what those numbers should actually be. If a column is already installed and one zone will not hold its temperature, that is usually a clearance or leveling issue rather than a refrigerant fault, and it is worth a technician confirming which before any part gets replaced — you can schedule a wine refrigeration repair visit or book service directly to have the installation checked.